This summer, 8 Minecraft U campers developed their own modpack and map. They worked through a typical software design and development cycle, utilizing techniques such as design sprints, prototyping, user testing, iteration and Kanban.

The best software product teams are a cross-functional mix of visionaries, creatives, detailed designers, technical experts and organized project managers. Our dedicated team had all of the above!
This is a fairly large and challenging map, with complex features such as a hub, and intricate game mechanics. But it’s possible to find and defeat the final boss!
We are really proud of this team and what they were able to accomplish in such a short time. It has taken us some additional time to package up the modpack and map for public consumption. The purpose of this page is to help others install and play the map. Check out some screenshots from the map below, or click here to jump straight to the instructions.
 Intimidating drops into volcanos!
 Custom jungle temples!
 Parkour!
 Cactus maze!
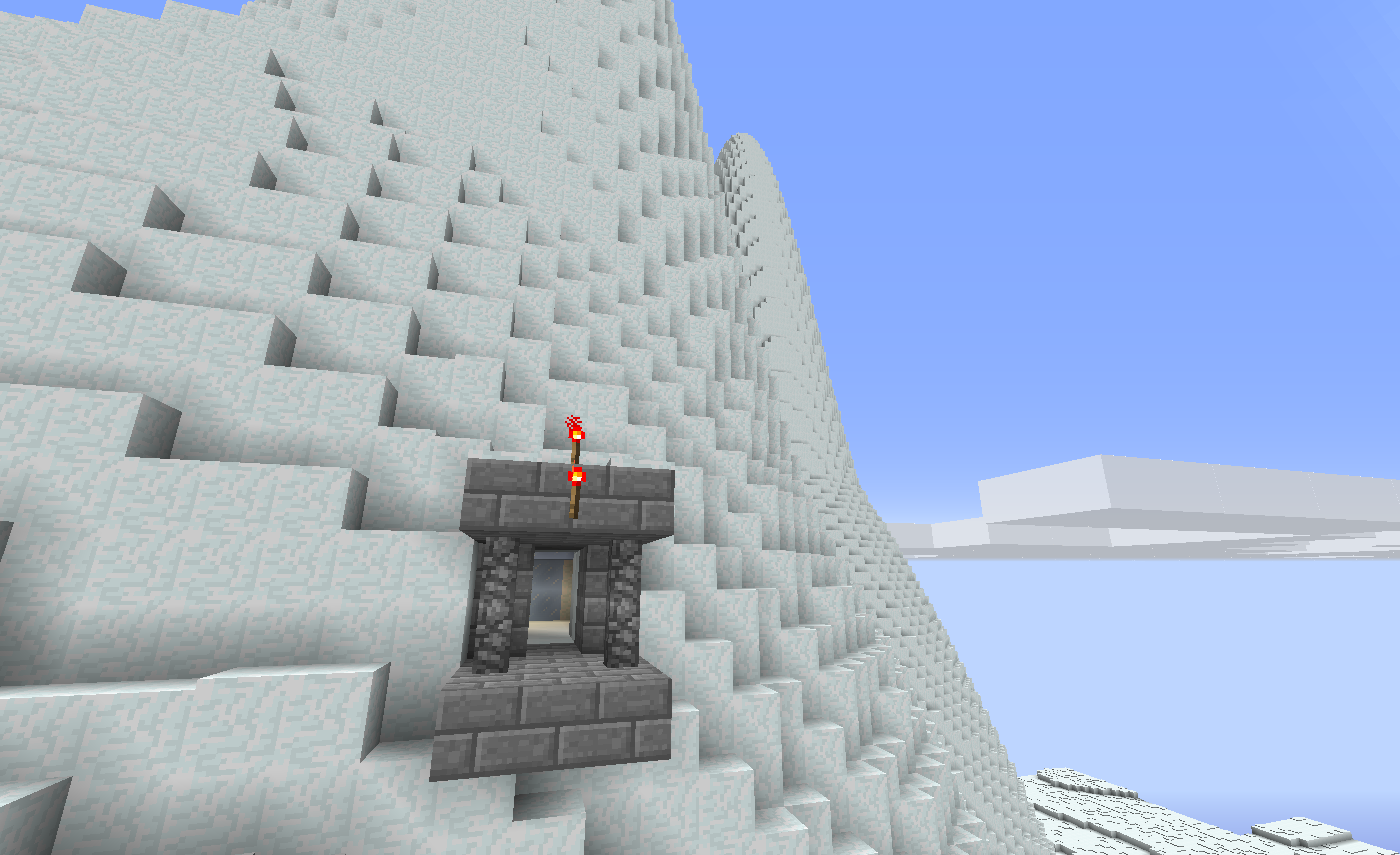 Giant snow-capped mountain ranges with secret passageways.
 Of course, some mobs to take care of.
 Ice maze!
 A patience-testing swimming challenge in an underwater temple.
 A lava-skimming rail ride takes you to the grand finale in the nether.
Instructions for installing the modpack and map
First, download the modpack and map zip file from here (alternative link here). Unzip the ZIP file and have that folder ready.
The easiest way to install the necessary version of Minecraft, the modpack and the map is via a tool called MultiMC. You can download MultiMC for your operating system here. After installing MultiMC, add your Minecraft account using the “Accounts” button in the upper-right corner of the screen. Then click “Add” and enter in your Minecraft account information.

Then create an “instance” of Minecraft using the far-left icon in the menu (the one that looks like a “new document” icon):

Change the version by clicking the “…” button next to listed version (it defaults to the most recent version of Minecraft, we need to change it to 1.7.10):

Next, we need to install the Forge modloader. MultiMC provides an easy way to do this. Just click the instance, then “Edit Instance” on the right-hand side of the main MultiMC window. Then click “Version” on the left of the new window that pops up, then “Install Forge” on the right under “Install”:

After that, your “Version” screen under “Edit Instance” should look something like this:

Next we need to install the 2017 Product Development mod. Click on “Loader mods” in the left side of the edit instance window. Find the folder with the Product Development modpack and map that you downloaded at the start of this process, and drag the file named MCU_PD_MOD.jar into the window (alternatively you can click “Add” and navigate to the MCU_PD_MOD.jar file).

Finally, we need to install the map. Similar to the above, go to the “Worlds” tab of the edit instance window and then either drag the entire MCU_PD folder (the folder should contain folders such as data and DIM-1 and files such as level.dat–this is the actual map data) into the “Worlds” window or click “Add” and add it that way. This is what the “Worlds” tab should look like afterwards:

That’s it! You’re ready to play! Close the “Edit instance” window, then double-click the instance to open Minecraft.

Choose “Singleplayer” and you should see the world in the list:

Go forth and conquer!